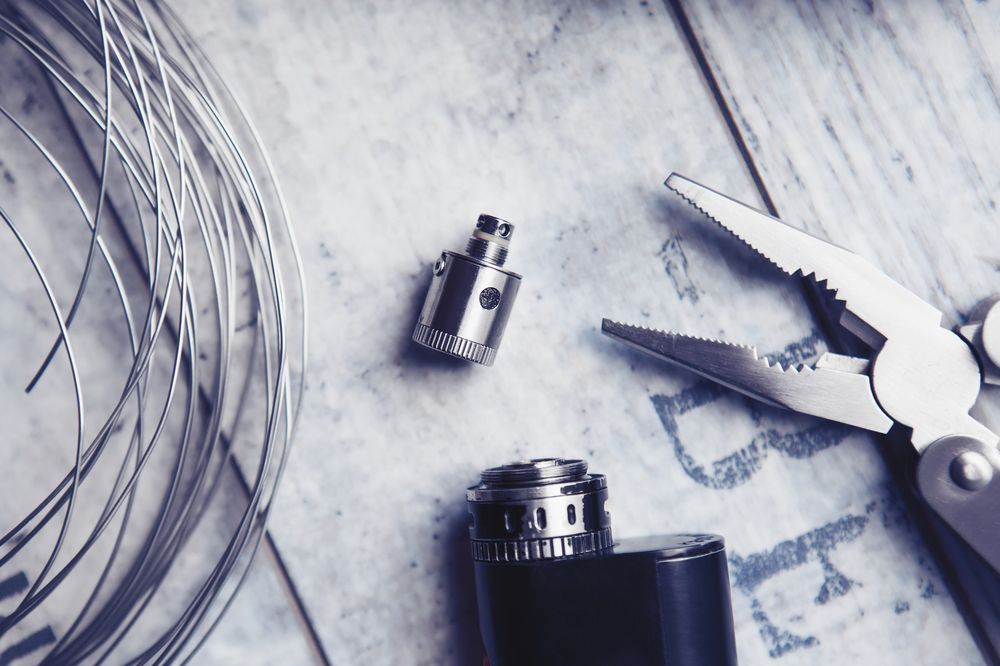
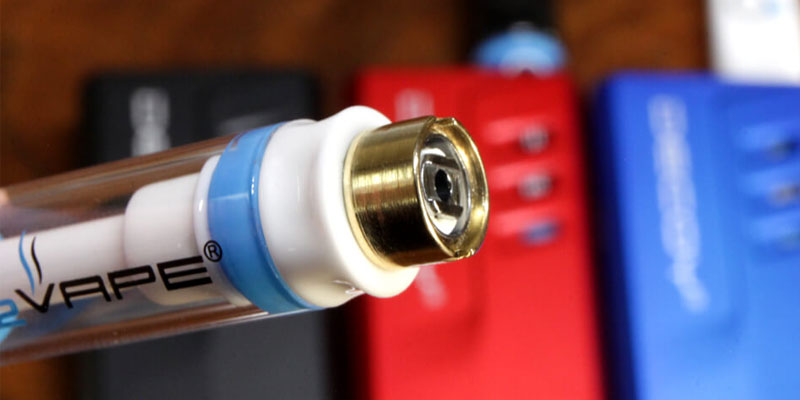
Among the components of electronic devices, Wires are the most sensitive. They can be torn, twisted, or broken in many ways. Likely A common issue in the vapes can be some damaged wires.
While you are noticing your vape is not working and found out the problems are in the wires, Try some of the troubleshoots that we listed.
[table “1” not found /]But first, Open up the chamber, Clean the dust, spilled liquid, or dirt with a paper towel until it looks perfectly clean. And then follow these steps:
Table of Contents
How To Fix Vape Pen Wires

Disassemble Your Vape’s Heating Chamber
At the very beginning, Disassemble Your Vape’s Heating Chamber along with the cartridge by twisting the tank clockwise. You gotta find a heating chamber. Also, pull that out by twisting the same way.
Be cautious! There is a wire coil inside the heating chamber. Make sure the wire remains safely in its place.
Use a heat gun to warm the setup a bit so that disassembling process would be much easier. Again, Turn the device off before starting any of these procedures.
Make sure you haven’t put much pressure on the cartridge. Extreme pressure may change the shape to be fit inside the cover. Also, that may disturb vaping experience by air leaking.

Is your Ooze vape pen blinking Green? Here is the fixation guide.
Brush The Chamber and Apply Some Isopropyl Alcohol
Grab a brush, and rub it down to the edge of your vape’s heating chamber and cartridge. If there is any rusty or loose element in the chamber. Just rub them out. And after that try cleaning up the wax that has been clustered in the chamber area.
Use Isopropyl Alcohol into the coil. This will neutralize the oil and wax. Wipe and rub it properly until there are any more clusters. Also be decent while working it out, because the coil wire is highly sensitive. And keep in mind, using water to clean this may be highly harmful to your device.
And then Assemble it back together. Charge it up, try to vape again.
It’s not yet! Then,
Get A Moderately Strong Magnet

Get a moderately strong magnet and drive it around the heating chamber and cartridge. What this will do is, attract the metal fragments stuck inside the chamber and wires.
Now if you have a question, how did this go there? Most probably while assembling the product. Hopefully, it’s gonna work perfectly. The issue is fixed.
Still not working? Unscrew the pen again and spectate the mouthpiece properly. Now inside the mouthpiece, remove the pieces you see and you will find a coil underneath. If the coil needs adjustment, It won’t make any heat or sparks.
And then Have a look at the screws. Whether they are in the right place. It’s pretty usual that, the screws can be loosened in terms of time and use. Even when you are adjusting your coil, the screws can be loosened. Take a screwdriver and tighten that up properly. Also, don’t give extra force. Next comes Heating Coil Placement. Here a paperclip can be useful. Straighten a paperclip and make a bend at the end of it so that it can reach narrow areas of the coil.
Give a bit of force and nudging to place the coil in its recommended position.
And Keep the Wire Completely Isolated from The Wall
The reason is that if the coil touches the wall, it would make a vulnerable short circuit. This may completely kill your motherboard.
Also, turn the device off before entering the paperclip. Or else this may create some sparks and be caught on fire. The cartridge area may be set into an electricity bypassing path and that would surely damage the cartridge along with the circuit.
Check if it works this time. Turn your device on. If it has still trouble, Try your paperclip again. Fix the coil again and again, and turn it on to see if it is fixed.
N.B. – This paperclip technique is not a scientific way. But we gotta know there are so many mechanical ways, that don’t follow scientific methods directly. Still, these are effective. So many times, the wire gets displaced, and this technique will actually fix it.
Another angle of this trouble is, Damaged Heating Element, Electronic discontinuance for several periods can make these types of trouble. Here All you need to do is, take the device to an authentic customer service arena.
The professional would take the necessary steps. But the main fundamental is, that the heating coil must be replaced. And personal recommendation, if you wanna do this on your own, try to unscrew that, and fix your spare part in place. Not that much Complicated.
Out Of The Box, Issues can be easier or complicated. Try to visualize properly. Get to know where is actually the problem taking place. Vapes are complex in their mechanism.
There are micro components and wires. If you see an ordinary wire torn or damaged significantly, take steps. Join the wires of the same colors together, and cover it with some plastic or silicon covers for safety. This will be effective.
In conclusion, Damaged wire or Heating Coil may be fixed, placed properly, or replaced most of the time. That’s pretty easier as well.
But the issue can create rare conditions sometimes, that may not be fixed. Or maybe fixable with a higher cost that is not worthy of it. In that case try getting a new vape, because fixing highly complicated issues won’t ensure you “no issues in future”.